Re-deploy and login to Argo Workflows
We successfully configured our K8S environment.
Now let's configure and re-deploy our Argo Workflows, then try to login to application too.
Modify Helm chart
In previous chapters we deployed Helm chart with default setting.
For now we'll change some properties in the chart.
-
Change
fullnameOverrideto the name what you want.
For example:myargo. -
To deploy application to master node, we need to change
nodeSelectoroptions.
Add following option tocontroller.nodeSelectorandserver.nodeSelector.node-role.kubernetes.io/master: "true"
You can change with other settings if you want.
Configured node labels can be checked by following command:kubectl get nodes --show-labelsWe'll not discuss about labeling on here.
-
To set up load-balancer, modify
values.yamllike below:values.yaml(...)
server:
(...)
# -- Service type for server pods
serviceType: LoadBalancer
# -- Service port for server
servicePort: 80
# -- Service node port
serviceNodePort: # 32746
# -- Service port name
servicePortName: "http" # http
serviceAccount:
# -- Create a service account for the server
create: true
# -- Service account name
name: ""
# -- Labels applied to created service account
labels: {}
# -- Annotations applied to created service account
annotations: {}
# -- Annotations to be applied to the UI Service
serviceAnnotations: {}
# -- Optional labels to add to the UI Service
serviceLabels: {}
# -- Static IP address to assign to loadBalancer service type `LoadBalancer`
loadBalancerIP: "192.168.0.200"
(...)
Configure ServiceAccount for authentication
We can attach SSO with other OAuth services for authentication,
but we'll configure basic access token1 instead.
We'll get access token with new ServiceAccount(SA).
(You may be able to get token from default one, but we'll not discuss about this here.)
To set up new ServiceAccount, we need to add some files to Helm chart template.
3 objectsare required: RoleBinding, ServiceAccount, and Secret.
You can change the account name huadmin as you want. It'll be awesome to seperate value tovalues.yaml.
Also, cluster-role from default Helm chart was used here.
If you want extra role, write one more yaml file about it and bind with role-binding.
apiVersion: rbac.authorization.k8s.io/v1
kind: RoleBinding
metadata:
  name: huadmin-rb
  namespace: {{ .Release.Namespace | quote }}
subjects:
- kind: ServiceAccount
  name: huadmin
roleRef:
  kind: ClusterRole
  name: {{ template "argo-workflows.fullname" . }}-admin
  apiGroup: rbac.authorization.k8s.io
apiVersion: v1
kind: ServiceAccount
metadata:
  name: huadmin
  namespace: {{ .Release.Namespace | quote }}
secrets:
  - name: huadmin-sa
apiVersion: v1
kind: Secret
metadata:
  name: huadmin-secret
  namespace: {{ .Release.Namespace | quote }}
  annotations:
    kubernetes.io/service-account.name: huadmin
type: kubernetes.io/service-account-token
Deploy and login to application
Configuration is complete, so let's deploy Argo Workflows again.
Helm chart가 위치한 폴더로 이동해 다음 명령어를 실행합니다.
helm install my-argowf ./argo-workflows -n argo-wf --create-namespace
Then we need to check access token. You can check it from following command.
You can check directly when you're using Linux, or you can also check it with master node's VM Shell when you're on Windows.
ARGO_TOKEN="Bearer $(sudo k3s kubectl get secret huadmin-secret -n argo-wf -o=jsonpath='{.data.token}' | base64 --decode)"
echo $ARGO_TOKEN
Store token value, because we'll use it when we try to log in.

With kubectl, we can see that external IP is allocated, and all the resources are created with name myargo, as we inserted on Helm chart.
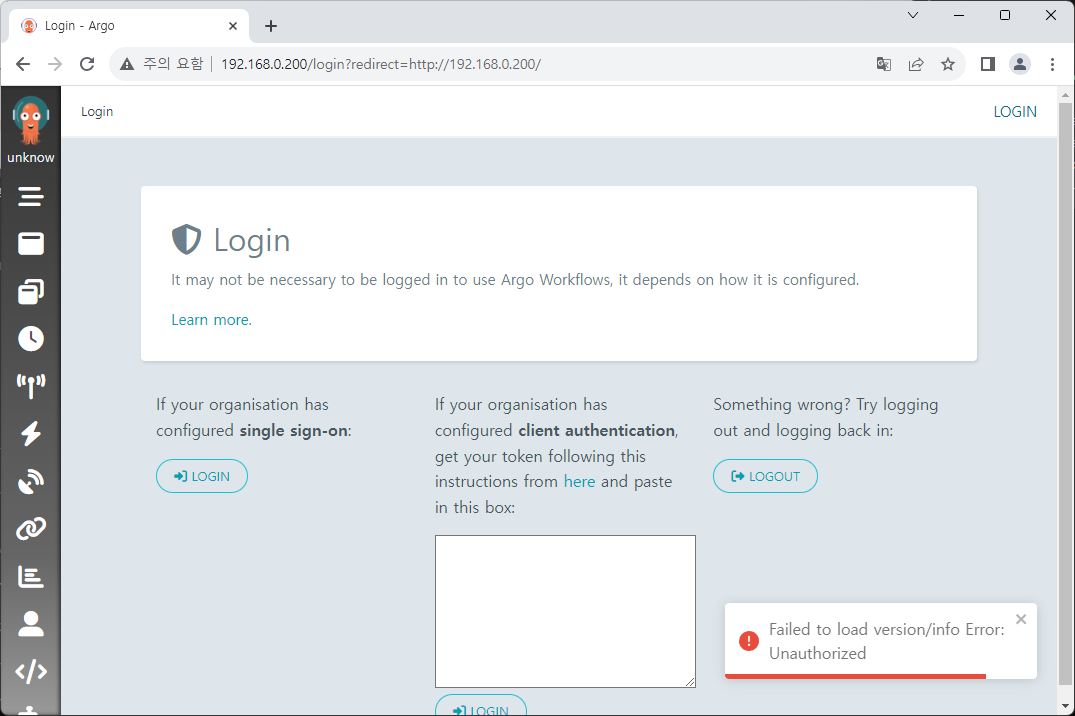
Navigate to the external IP, then you can see login page.

Then log in to our application with previous token value.

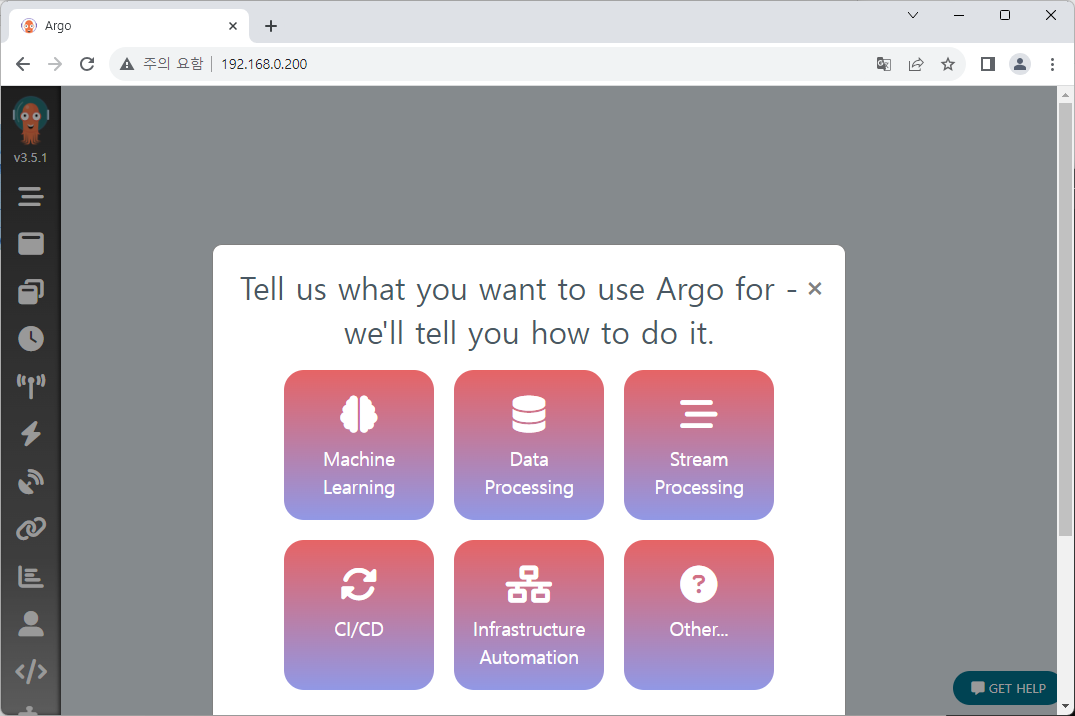
We can see the UI after login!