Argo Workflows 재배포 + 로그인하기
필요한 K8S 환경 설정은 완료되었습니다.
이제 Argo Workflows Helm chart를 수정하여 재배포하고 로그인까지 수행해 보겠습니다.
Helm chart 수정하기
이전 챕터에서는 기본 옵션으로 Helm chart를 배포했습니다.
이번에는 간단하게 chart를 수정해 보겠습니다.
-
fullnameOverride값을 원하는 이름으로 변경합니다.
여기서는myargo로 설정하겠습니다. -
Master node에 배포하기 위해
nodeSelector항목을 변경합니다.
controller.nodeSelector와server.nodeSelector항목에 다음 Label을 추가합니다.node-role.kubernetes.io/master: "true"
이외에 원하는 Label 설정으로 변경하셔도 됩니다.
노드에 설정된 Label은 다음 명령어로 확인할 수 있습니다.kubectl get nodes --show-labelsLabel 설정과 관련된 내용은 여기서 다루지 않겠습니다.
-
접근을 위한 Load-Balancer 설정을 위해 다음과 같이
values.yaml파일을 수정합니다.values.yaml(...)
server:
(...)
# -- Service type for server pods
serviceType: LoadBalancer
# -- Service port for server
servicePort: 80
# -- Service node port
serviceNodePort: # 32746
# -- Service port name
servicePortName: "http" # http
serviceAccount:
# -- Create a service account for the server
create: true
# -- Service account name
name: ""
# -- Labels applied to created service account
labels: {}
# -- Annotations applied to created service account
annotations: {}
# -- Annotations to be applied to the UI Service
serviceAnnotations: {}
# -- Optional labels to add to the UI Service
serviceLabels: {}
# -- Static IP address to assign to loadBalancer service type `LoadBalancer`
loadBalancerIP: "192.168.0.200"
(...)
로그인을 위한 ServiceAccount 설정하기
SSO 방식을 사용해 타 OAuth 서비스와 연동하여 로그인을 구성할 수도 있지만,
여기서는 token 로그인 방식1을 적용하겠습니다.
token은 새로 ServiceAccount를 만들어 발행하겠습니다.
(기본 생성되는 계정에서도 가능할 수 있지만, 이 문서에서는 설명하지 않습니다)
새로운 ServiceAccount 설정을 위해 Helm chart template에 추가 파일을 작성합니다.
RoleBinding, ServiceAccount, Secret 총 3개의 설정 파일을 작성해야 합니다.
제가 설정한 이름 huadmin 은 알맞게 변경해 주세요. values.yaml 파일에 분리하는 것도 좋습니다.
그리고 여기서는 Helm chart에서 기본 생성하는 ClusterRole을 사용하였습니다.
Role도 추가로 생성하고 싶다면 yaml 파일을 하나 더 작성하고 RoleBinding에서 연결해 주시면 됩니다.
apiVersion: rbac.authorization.k8s.io/v1
kind: RoleBinding
metadata:
  name: huadmin-rb
  namespace: {{ .Release.Namespace | quote }}
subjects:
- kind: ServiceAccount
  name: huadmin
roleRef:
  kind: ClusterRole
  name: {{ template "argo-workflows.fullname" . }}-admin
  apiGroup: rbac.authorization.k8s.io
apiVersion: v1
kind: ServiceAccount
metadata:
  name: huadmin
  namespace: {{ .Release.Namespace | quote }}
secrets:
  - name: huadmin-sa
apiVersion: v1
kind: Secret
metadata:
  name: huadmin-secret
  namespace: {{ .Release.Namespace | quote }}
  annotations:
    kubernetes.io/service-account.name: huadmin
type: kubernetes.io/service-account-token
배포 후 로그인하기
설정이 끝났으니 다시 Argo Workflows를 배포해 봅시다.
Helm chart가 위치한 폴더로 이동해 다음 명령어를 실행합니다.
helm install my-argowf ./argo-workflows -n argo-wf --create-namespace
이제 로그인을 위한 token을 확인해야 합니다. 아래의 명령어로 token을 확인할 수 있습니다.
Windows의 경우 Master node가 설치된 VM Shell에서 확인하시면 됩니다.
ARGO_TOKEN="Bearer $(sudo k3s kubectl get secret huadmin-secret -n argo-wf -o=jsonpath='{.data.token}' | base64 --decode)"
echo $ARGO_TOKEN
token 값은 로그인에 필요하기 때문에 저장해 둡니다.

kubectl 로 조회해 보면 정상적으로 External IP가 할당되었고, Helm chart에서 설정한 이름 myargo 를 기반으로 리소스가 생성된 것을 확인할 수 있습니다.
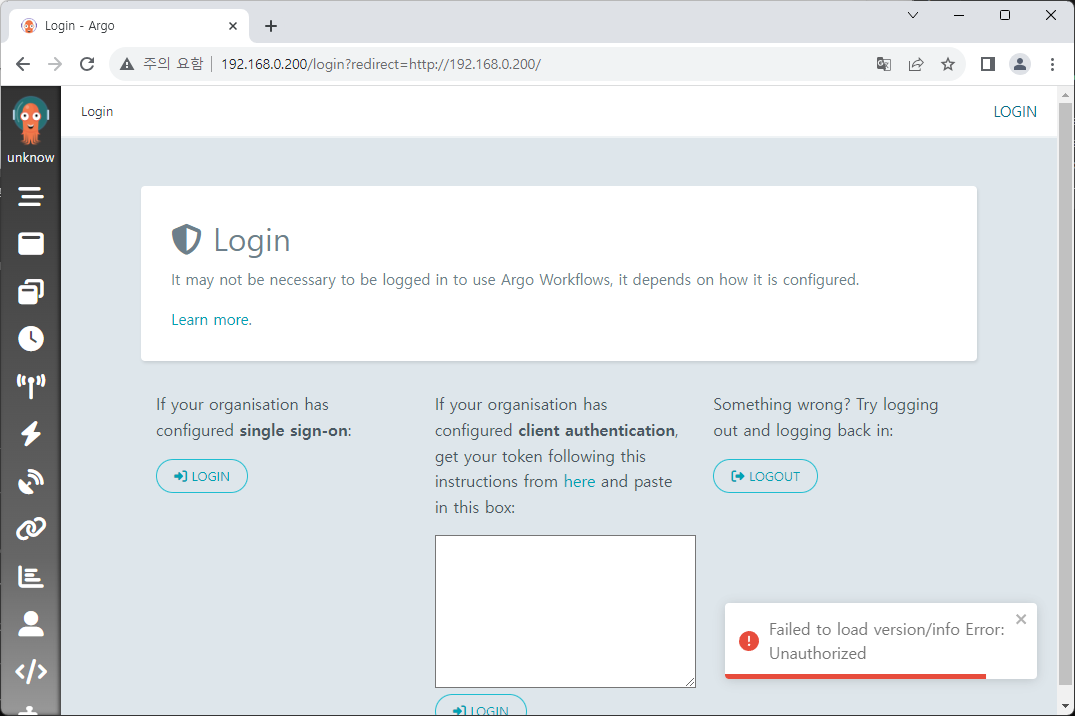
이제 브라우저에서 해당 IP 주소에 접속하면 로그인 화면이 나옵니다.

여기서 저장해 두었던 token을 이용해 로그인을 진행합니다.

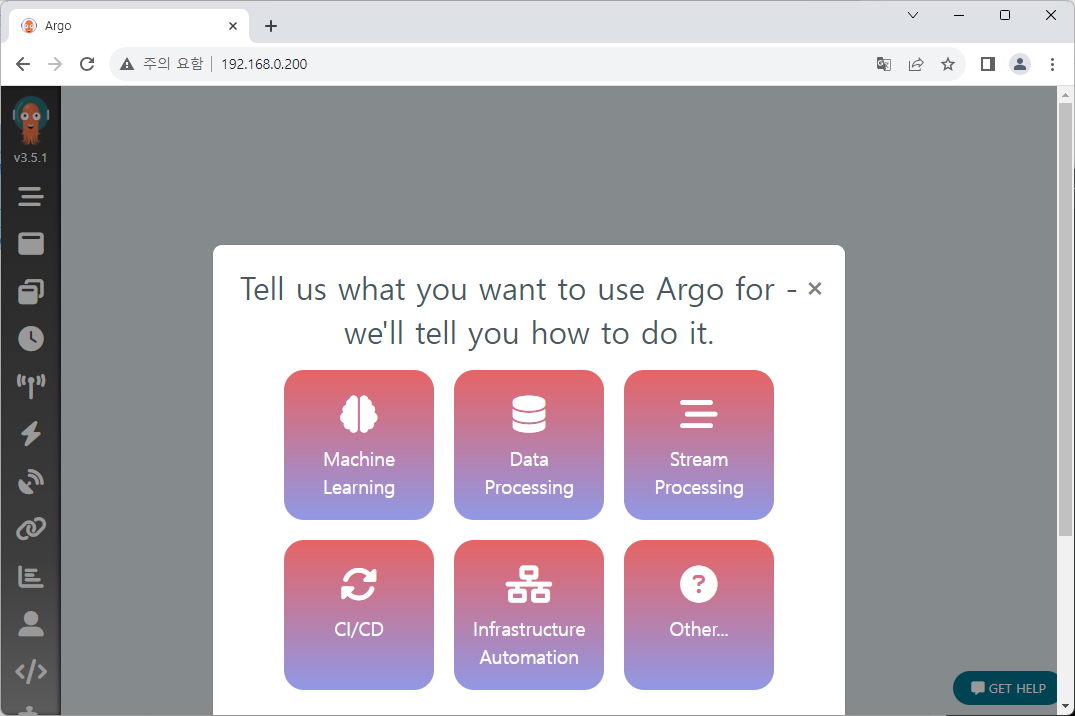
정상적으로 로그인되었습니다!