Install K3S
In this document, we'll create VM with Multipass and install K3S on it.
Create Ubuntu VM
Type following command to check installable Ubuntu image on Multipass.
> multipass find

Image                       Aliases           Version          Description
core                        core16            20200818         Ubuntu Core 16
core18                                        20211124         Ubuntu Core 18
core20                                        20230119         Ubuntu Core 20
core22                                        20230717         Ubuntu Core 22
20.04                       focal             20231124         Ubuntu 20.04 LTS
22.04                       jammy,lts         20231026         Ubuntu 22.04 LTS
23.04                       lunar             20231113         Ubuntu 23.04
...
We'll use Ubuntu 22.04 here.
Create VM instance with following command:
# multipass launch [alias] --name [your-name]
  --memory [your-mem] --disk [your-disk] --cpus [your-cpu]

multipass launch jammy --name k3s-master --memory 2G --disk 10G --cpus 2
You can use multipass list command to list your instance.
> multipass list
Name                    State             IPv4             Image
k3s-master              Running           172.17.178.221   Ubuntu 22.04 LTS
To modify instance, try the following steps:
-
Stop target instance if it is running.
multipass stop k3s-master -
Change instance setting. You can check values with
multipass getcommand, and change to new value usingmultipass setcommand.
For here we'll change all values: CPU, Memory & Disk.> multipass get local.k3s-master.cpus
2
> multipass get local.k3s-master.disk
10.0GiB
> multipass get local.k3s-master.memory
2.0GiB
> multipass set local.k3s-master.cpus=3
> multipass set local.k3s-master.disk=50.0GiB
> multipass set local.k3s-master.memory=4.0GiB -
After change is complete, then restart your instance.
multipass start k3s-master
Install K3S on VM
K3S is a lightweight Kubernetes distribution made by Rancher.
It's useful for test environment because of it's simple setup and small resource requirements, and you can also use K3S on production environment too.
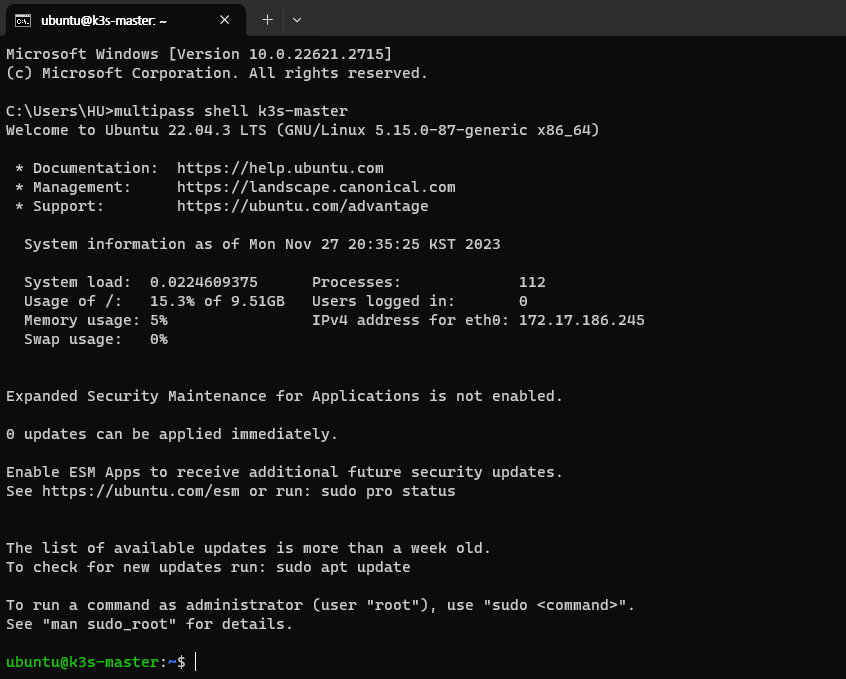
To install K3S, we need to access VM Shell.
multipass shell k3s-master

You can see the shell prompt of an instance.
Now we can install K3S. We'll install with default install script1 now.
curl -sfL https://get.k3s.io | sh -
You can check installation with k3s --version command, and also you can use kubectl to check K8S environment.
# Get Namespace for example
sudo k3s kubectl get ns

Control K8S environment on host computer
We successfully installed K3S, but it's able to access only inside the VM.
It's pretty inconvenient, so let's configure settings to control the VM's K8S on host.
If you're logged out, access the VM Shell again.
multipass shell k3s-master
K3S config file is stored at /etc/rancher/k3s/k3s.yaml.2 Copy this file to host computer.
ubuntu@k3s-master:~$ sudo chmod 777 /etc/rancher/k3s/k3s.yaml
ubuntu@k3s-master:~$
logout

# Ctrl + D to logout
# Now we're on host

> multipass copy-files k3s-master:/etc/rancher/k3s/k3s.yaml Downloads/k3s-master.yaml
You can find k3s-master.yaml file on your destination folder.
This file should looks like this:
apiVersion: v1
clusters:
  - cluster:
      certificate-authority-data: (REDACTED...)
      server: https://127.0.0.1:6443
    name: default
contexts:
  - context:
      cluster: default
      user: default
    name: default
current-context: default
kind: Config
preferences: {}
users:
  - name: default
    user: (REDACTED...)
We need to change 127.0.0.1 value to our VM's IP address.
You can check it from multipass list command.
C:\Users\HU>multipass list
Name                    State             IPv4             Image
k3s-master              Running           172.17.186.245   Ubuntu 22.04 LTS
                                          10.42.0.0
                                          10.42.0.1
Change some other namings like cluster, user, and context if you want. The result looks like:
apiVersion: v1
clusters:
  - cluster:
      certificate-authority-data: (REDACTED...)
      server: https://172.17.186.245:6443
    name: master-cluster
contexts:
  - context:
      cluster: master-cluster
      user: master-user
    name: master
current-context: master
kind: Config
preferences: {}
users:
  - name: master-user
    user: (REDACTED...)
Move the modified content to ${HOME}/.kube/config file and restart terminal.
(If you cannot find a file, then make a new one)
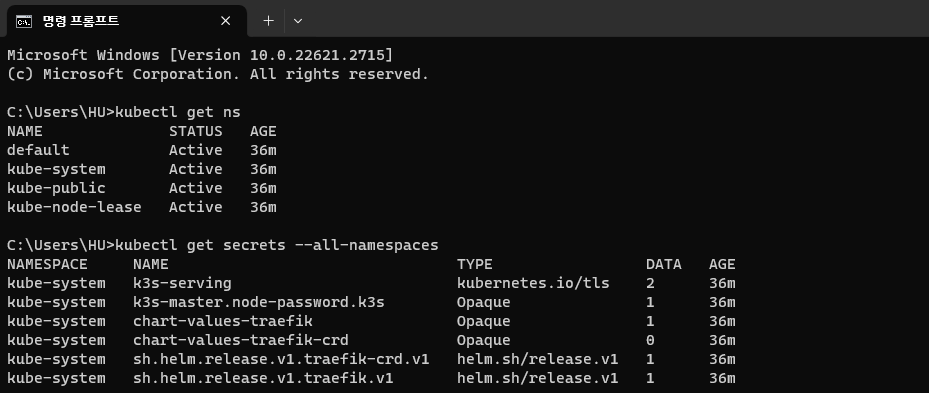
Now we can control VM Kubernetes with kubectl command on host.
